Running Jupyter Notebook Workspaces
Introduction
This workload does not require any previous setup to run.
However, if you plan on running code in this workspace (as opposed to just managing a conda environment) make sure to read and follow every step in Choosing your Kernel.
| Jupyter Notebook workspaces may require at least 0.5GiB of free RAM. Read more. |
End Goal
-
Submit and manage Jupyter Notebook workspaces using the Run:AI web UI.
-
Connect to your Jupyter Notebook workspace.
-
Choose your kernel for running your code with your configured conda environment.
Submitting a Jupyter Notebook Workspace
-
Enter Run:AI web UI. If you are not logged in - click CONTINUE WITH SSO and fill in your BGU username and password.
-

-
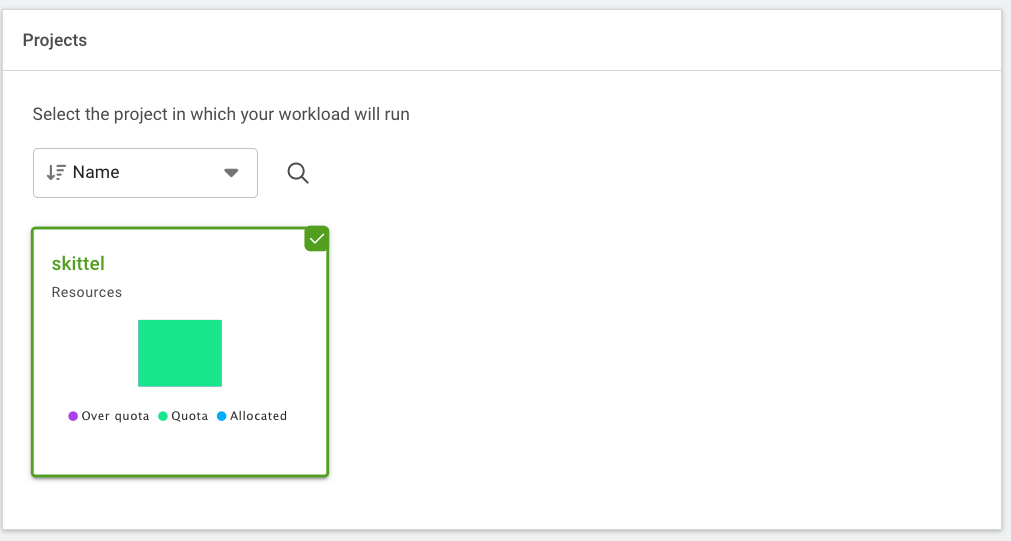
Choose the project configured under your name.
-
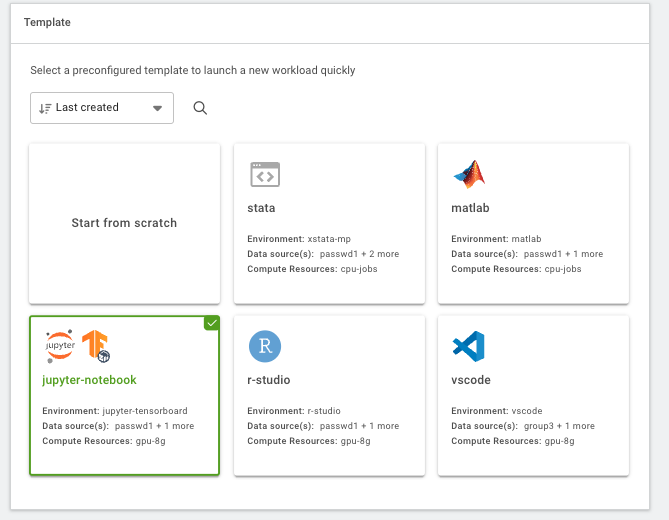
Choose the jupyter-notebook template.
-
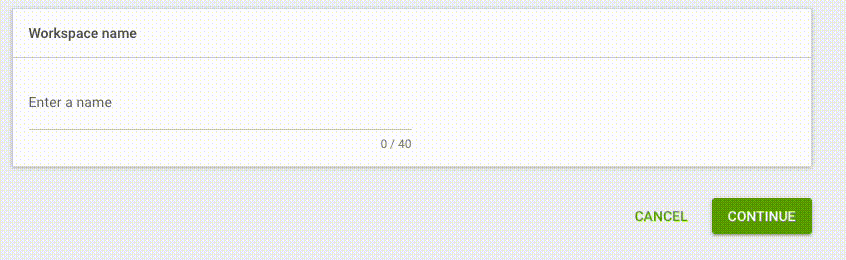
Choose a name for your workspace and click CONTINUE.
-
Wait for the page to reload and then scroll to the bottom and click CREATE WORKSPACE.

Connecting to Your Job
-
After the page reloads back to the "Workloads" page, find your workspace and choose it, then click

-
A new tab will open with the Jupyter Notebook welcome screen.

-
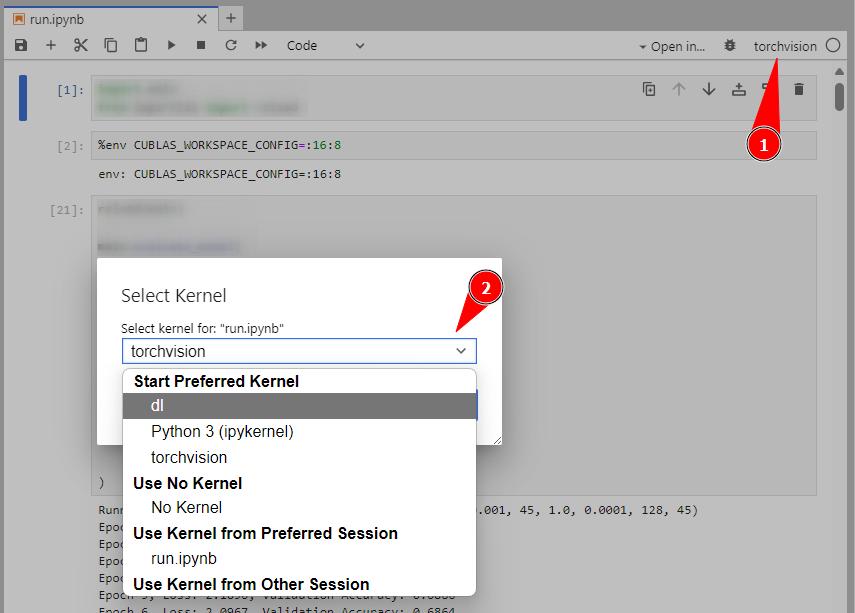
Choose the terminal to interact with the terminal (for manging evironments and other stuff) or choose your configured kernel. If no kernel is available apart from "Python 3 (ipykernel)", see the following section.
Choosing your Kernel
Jupyter Notebook uses a kernel to run your python code. This kernel is associated with a conda environment, however, by default created Conda environments do not show up as kernels in Jupyter Notebook. To use your environment as a kernel, you should follow the instructions on this guide and come back here.
After following the aforementioned guide, you should have your kernel available to choose. Clicking on any kernel will create a new notebook for you under the current working directory (By default this is your home directory) and open it.